
Custom banners, step by step.
Ten steps. Same builder, bigger canvas — the size is in metres and the finishing is hems, eyelets and pole pockets. Every step below is screenshotted from the builder itself, with the Guide switched on. Open the banner builder →
Background not quite right? Send it anyway. The remover and the AI cut-out get most files right on their own, but every order is checked by a person before it prints, and we tidy the cut by hand at the proofing stage — free, and you approve the proof before anything is made.
-
 Step 1
Upload your artwork
Drop a PNG, JPG, SVG or PDF, or tap to browse. A banner is big, so send the largest version you have — the builder tells you if the file is on the small side for the size you pick.
-
 Step 2
Remove the background
Only if your file needs it. A logo on white, a photo, a screenshot: press Remove BG and the background goes on your own device, every white inside the design as well as around it. On a photo the builder offers the AI cut-out instead, which lifts the subject out of whatever is behind it. Restore BG puts it back. If the result isn't quite right, send it anyway — a person checks every order and tidies the cut by hand at the proofing stage, free.
-
 Step 3
Set the size
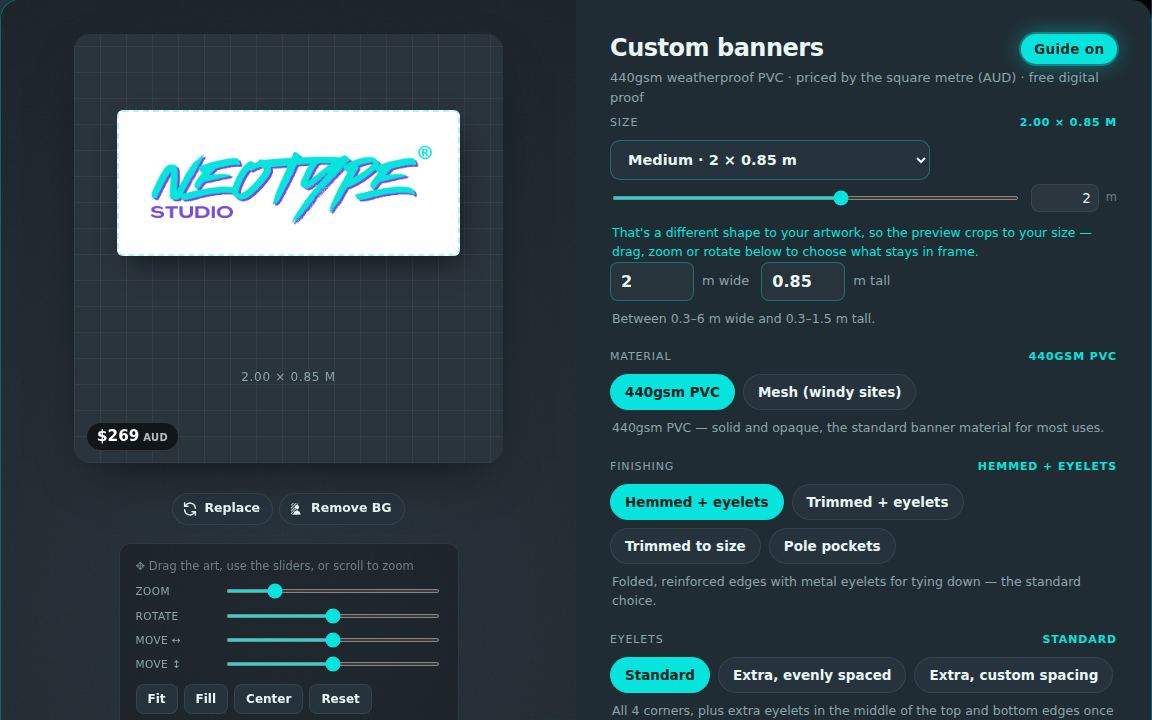
Pick a common banner size from the list, or type the width and height in metres. The preview keeps your artwork's proportions; if you ask for a different shape it crops to fit, and you choose what stays in the placement step.
-
 Step 4
Choose the material
440 gsm PVC is the everyday banner: fences, shopfronts, events. Mesh lets the wind through, for balconies and windy sites.
-
 Step 5
How it's finished
Hemmed with eyelets is the standard: a folded, welded edge with metal rings to tie through. Trimmed with eyelets, trimmed to size or pole pockets for a sleeve top and bottom. Extra eyelets and rope are under the same heading.
-
 Step 6
Place your artwork
Only if it needs it. Drag, zoom or rotate to place the art on the banner. Fit shows everything, Fill covers the banner edge to edge. The artwork stays on the banner — it can't be dragged off.
-
 Step 7
How many?
Tap a quantity or type your own. The price per banner drops as the quantity rises, and the total updates as you go.
-
 Step 8
Turnaround
Standard is the default. Pick a faster turnaround if you need it sooner and the price adjusts on the spot.
-
 Step 9
Notes
Anything we should know — an install date, a colour to match. Skip it otherwise.
-
 Step 10
Preview, then add to cart
Preview my banner shows the banner with its size and price. Add to cart when it looks right; a free digital proof comes by email before printing.
Press Guide and go.
The builder walks you through the same steps. Free proof before you spend anything; stuck at any point, send us the file and we'll set it up for you.
Open the sticker builder → Read the FAQ