
Corflute signs, step by step.
Eleven steps. The cut comes before the size here, because a custom shape is sized from the artwork itself. Every step below is screenshotted from the builder itself, with the Guide switched on. Open the corflute builder →
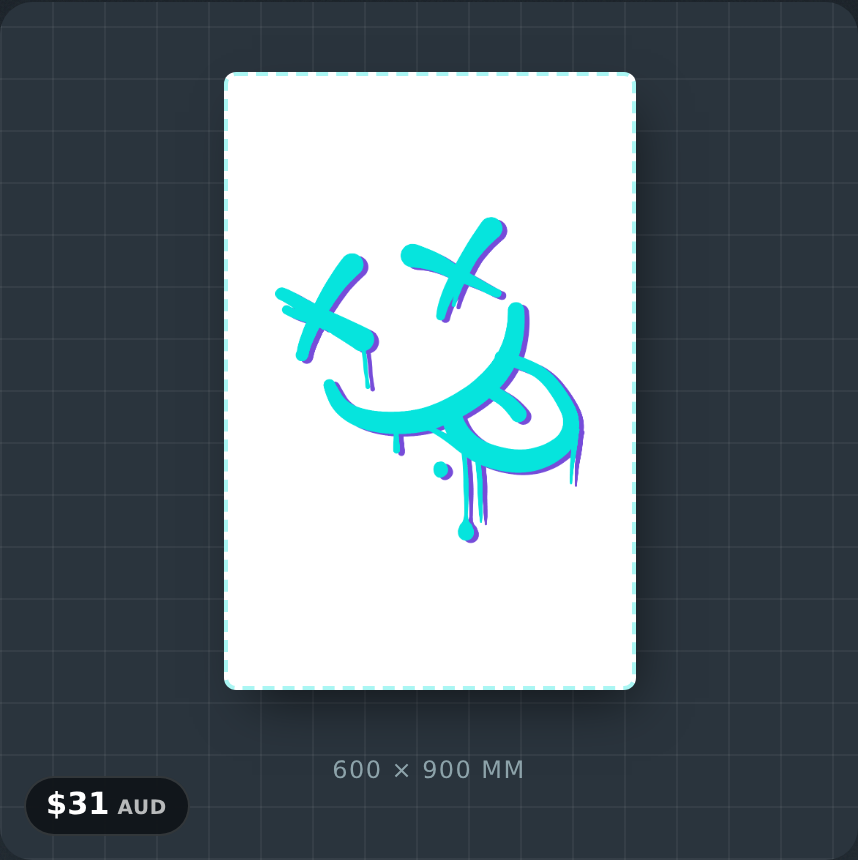
Background not quite right? Send it anyway. The remover and the AI cut-out get most files right on their own, but every order is checked by a person before it prints, and we tidy the cut by hand at the proofing stage — free, and you approve the proof before anything is made.
-
 Step 1
Upload your artwork
Drop a PNG, JPG, SVG or PDF, or tap to browse. For a cut-out shape, artwork on a transparent background works best — and the next step makes one out of a photo.
-
 Step 2
Remove the background
Only if your file needs it. Press Remove BG for a logo on white, or take the AI cut-out on a photo, and the board switches to a custom shape cut around the subject — a photo becomes a standing cut-out in one step. Restore BG puts it back. If the result isn't quite right, send it anyway: a person checks every order and tidies the cut by hand at the proofing stage, free.
-
 Step 3
Choose the cut
Rectangle and square are straight cuts. Rounded rectangle, circle and oval are routed to shape. Custom shape follows your artwork's own outline, with a border you can set.
-
 Step 4
Set the size
Pick a preset or type width and height in millimetres, up to 2400 × 1200 mm for a straight cut. A custom shape is sized by its longest side; the other follows your artwork, border included — that finished board is what you pay for.
-
 Step 5
Thickness
3 mm for indoor signs and short-term outdoor use — real estate boards, event signs. 5 mm for anything that has to stand on its own or last a season outside.
-
 Step 6
Sides
Printed on one side, or on both for a sign that's read from either direction.
-
 Step 7
Place your artwork
Only if it needs it. Drag, zoom or rotate the art on the board. Fit shows everything, Fill covers it edge to edge; a custom shape always shows whole. The artwork stays on the board — it can't be dragged off.
-
 Step 8
How many?
Tap a quantity or type your own. The price per sign drops as the quantity rises, and the total updates as you go.
-
 Step 9
Turnaround
Standard is the default. Pick a faster turnaround if you need it sooner and the price adjusts on the spot.
-
 Step 10
Notes
Anything we should know — stakes, an install date, a colour to match. Skip it otherwise.
-
 Step 11
Preview, then add to cart
Preview my sign shows the board with its size and price. Add to cart when it looks right; a free digital proof comes by email before printing.
Press Guide and go.
The builder walks you through the same steps. Free proof before you spend anything; stuck at any point, send us the file and we'll set it up for you.
Open the sticker builder → Read the FAQ